In my previous posts, we have discussed a lot about HTML and its tags. You can check the posts here.
In this post, we are going to create our first static webpage as we keep introducing new HTML tags. We are going to create a static blog website which we will beautify using CSS in our next series.
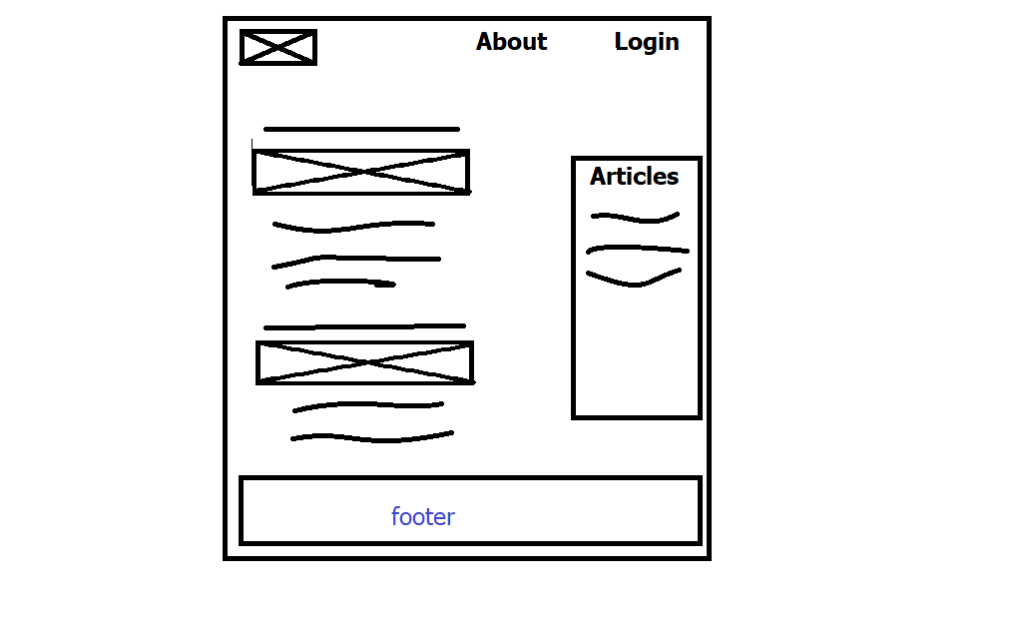
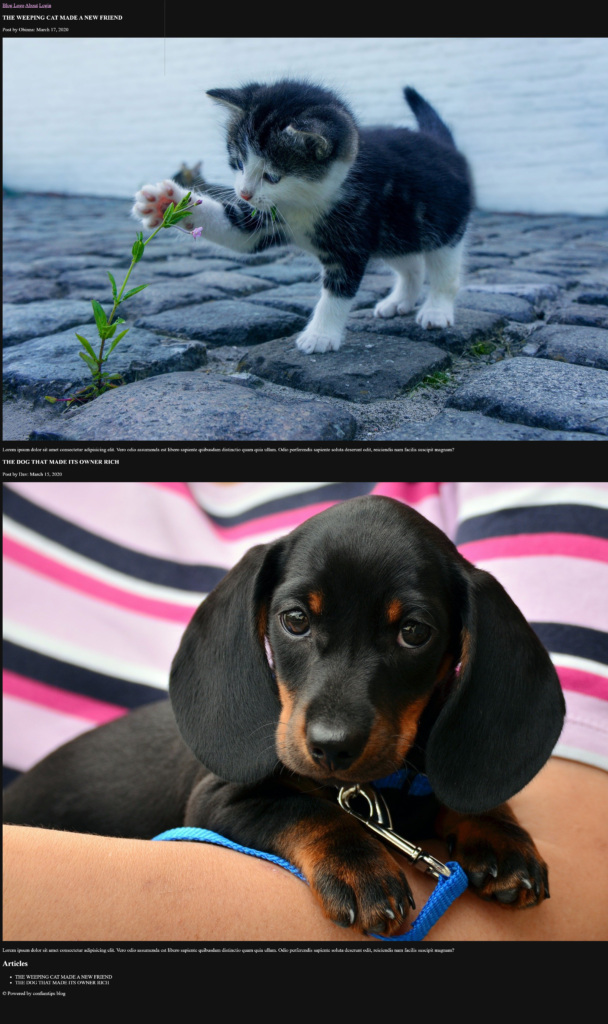
Below is the prototype of the simple blog page we are about to create;
We are going to do this step by step.
Step 1. Create Folders/Directories For The Website
You can create the folder on your system desktop, or inside your system document directory, etc. This depends on which location you find more convenient and secure for you. Create the folder and give it the name of the project. In this case, I will call my own blogsite. We will now have the image as shown below as our result.

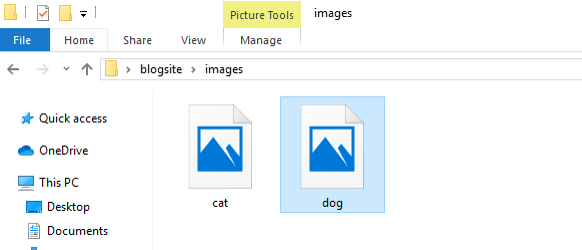
Open the blogsite folder you just created. Inside it, create another folder and name it images. Make sure the image folder you just created is inside the blogsite folder as a subfolder. Open the image folder and place two images inside it, an image of a cat and a dog as shown below.
Make sure you name the image cat and dog as shown in the image below. Also, remember the file extension of the image you copied to the folder that is whether it is .png or .jpg. I have discussed about file extension in my post.
Step 2. Create Your index.html File
This is the time for us to write our HTML code. Open any text editor or IDE you chose from our previous post. Once you have opened the editor, go straight to the file tab on the editor menu and select save as or save. Now look for the project folder you created and save the file inside it with the name index.html. You can also use ctrl + S for windows as a shortcut to do the saving.
Once you have done the saving, it is time to start writing your html code.
Step 3. Create Your Page Structure Using HTML
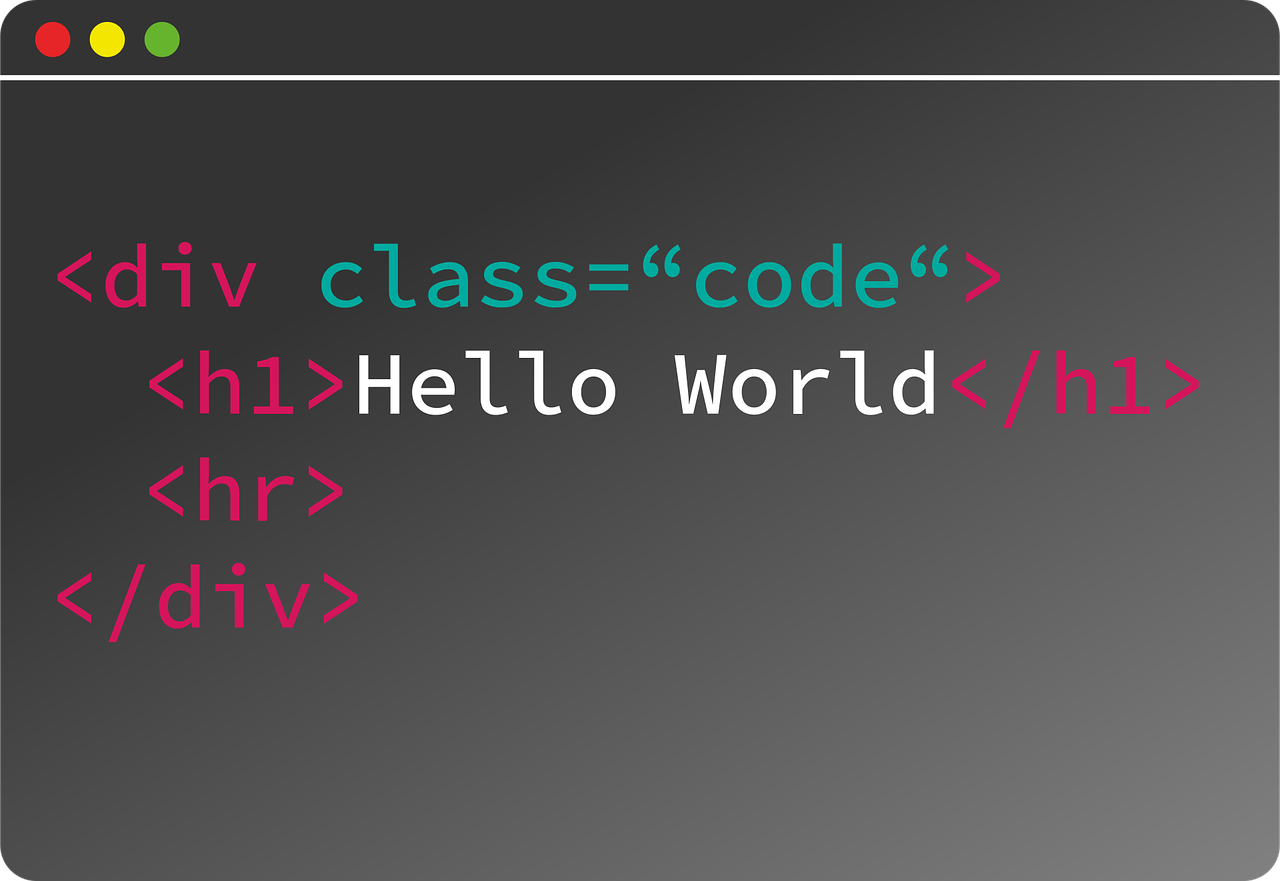
The first thing to do is to write the basic HTML code skeleton as shown below inside the text editor. If the HTML tags you see below are confusing to you, check our post on HTML tags. You can also see that we introduced the lang attribute to the html opening tag <html lang = “en” >. We use this attribute to tell the browser which language the text content of our web page is written in.
We also gave the document a title “The Leo Family” as you can see on the code below.
<!DOCTYPE html> <html lang="en"> <head> <meta charset="UTF-8"> <meta name="viewport" content="width=device-width, initial-scale=1.0"><title>The Leo Family </title> </head> <body> </body> </html>
Save the file again and open the HTML file in a browser. You will see our document title at the top of our browser tab as shown below.

Step 4. Create the Body of the Web Page
Using our project Prototype, we will add codes within the body tag that will help us achieve the page view as we have it on the prototype.
Add the following code within the body tag in your document.
<body> <header> <nav> <a href="index.html">Blog Logo</a> <a href="">About</a> <a href="">Login </a> </nav> </header> <section> <article> <h1>THE WEEPING CAT MADE A NEW FRIEND</h1><p>Post by Obinna: March 17, 2020 </p><img src="images/cat.jpg" alt="cat picture"><P>Lorem ipsum dolor sit amet consectetur adipisicing elit. Vero odio assumenda est libero sapiente quibusdam distinctio quam quia ullam.Odio perferendis sapiente soluta deserunt odit, reiciendis nam facilis suscipit magnam?</P> </article> <article> <h1>THE DOG THAT MADE ITS OWNER RICH</h1><p>Post by Dav: March 15, 2020 </p> <img src="images/dog.jpg" alt="dog picture"> <P>Lorem ipsum dolor sit amet consectetur adipisicing elit. Vero odio assumenda est libero sapiente quibusdam distinctio quam quia ullam.Odio perferendis sapiente soluta deserunt odit, reiciendis nam facilis suscipit magnam? </P> </article> </section> <aside> <h2>Articles</h2> <ul> <li>THE WEEPING CAT MADE A NEW FRIEND</li><li>THE DOG THAT MADE ITS OWNER RICH </li> </ul> </aside> <footer> <p>© Powered by confamtips blog</p> </footer> </body>
One thing we should observe here for now is the image tags, we have used most of the other tags here on our previous post.
Looking at the image tags we have <img src=”images/dog.jpg” alt=”dog picture”>, <img src=”images/cat.jpg” alt=”cat picture”>.
You will see the src attribute, this is the image source attribute. It directs the browser to the location where we placed our image.
Remember, we placed our images inside our images folder, looking at the path we gave as our image source path, we have “images/dog.jpg”. The “images” is the folder name and dog.jpg is the name of the image we are looking for.
Make sure you use the file extension of the image you are using correctly. Let assume your image is a png file, then you should have dog.png as the file name not dog.jpg.
Take note also of the alt attribute, the browser uses the value of the attribute whenever the image is not available and to help those that use assistive technology like visually impaired persons. You can leave the image alt attribute value empty (alt= “ ”) if the image is for decoration purposes.
After typing in the codes above, save your index.html file again and refresh your browser to see the added content on the webpage. The result is as shown below.
In our next post, we will discuss the anchor tag <a> and form. Our page is just static and not well organized yet. we will do that in our CSS series.